Scope:
Bilfinger Danmark A/S was contracted by one of our clients to provide a more accurate solution to the task of quantifying the extent of arrested external corrosion damage on various sections of pressurised pipework.
The traditional approach for this type of inspection is to perform a visual inspection and with best endeavours, attempt to quantify the wall loss with the standard measurement tools available (pit gauges, rulers etc.).
The traditional approach is not only time consuming, it can introduce significant sizing errors. The following are just some of the limitations:
- Physical restriction when trying to depth size without adjacent flat surfaces
- Results can vary considerably from operator to operator due to human factors
- Final reports are time consuming to generate and not always clear and in most cases require a more detailed follow up inspection in order to perform a fitness for service assessment (FFS)
The end result provides the client with a relatively low confidence factor in the results presented, therefore more conservative tolerances need to be applied during FFS assessments. In some cases, this might be the difference between plant shut down and continued service
Services:
Inspection
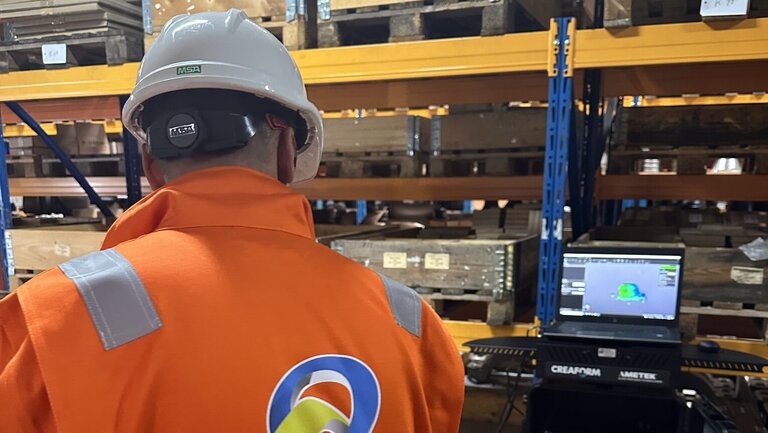
In order to provide a truly accurate, repeatable, and efficient method of inspection, Bilfinger introduced 3D laser scanning technology to the project. Utilising
the industry leading laser scanning technology from CREAFORM®, the solution offered significant improvements in accuracy, simplicity, portability and speed.
The technology was able to offer a true 3D representation and accurate depth measurement (accuracy of 0.025mm) of any corrosion damage.

